 Sudden Valley Siding
 Building New on Yew Street
If you're framing a new home or an addition on Yew Street, the window install is one of the few steps in the build where a mistake doesn't show up right away. A window that's flashed wrong, fastened wrong, or sequenced wrong with the weather-resistant barrier can look perfect on the day it goes in and still leak two winters later, once the caulk has aged and the first real wind-driven rain event finds the gap. We install new-construction windows on Yew Street and throughout Sudden Valley as part of full building-envelope work, not as a standalone trade that shows up, sets units in rough openings, and leaves the flashing details to whoever hangs the siding next.
This page is about that one job — new-construction windows, on this neighborhood, done the way the local climate actually demands.
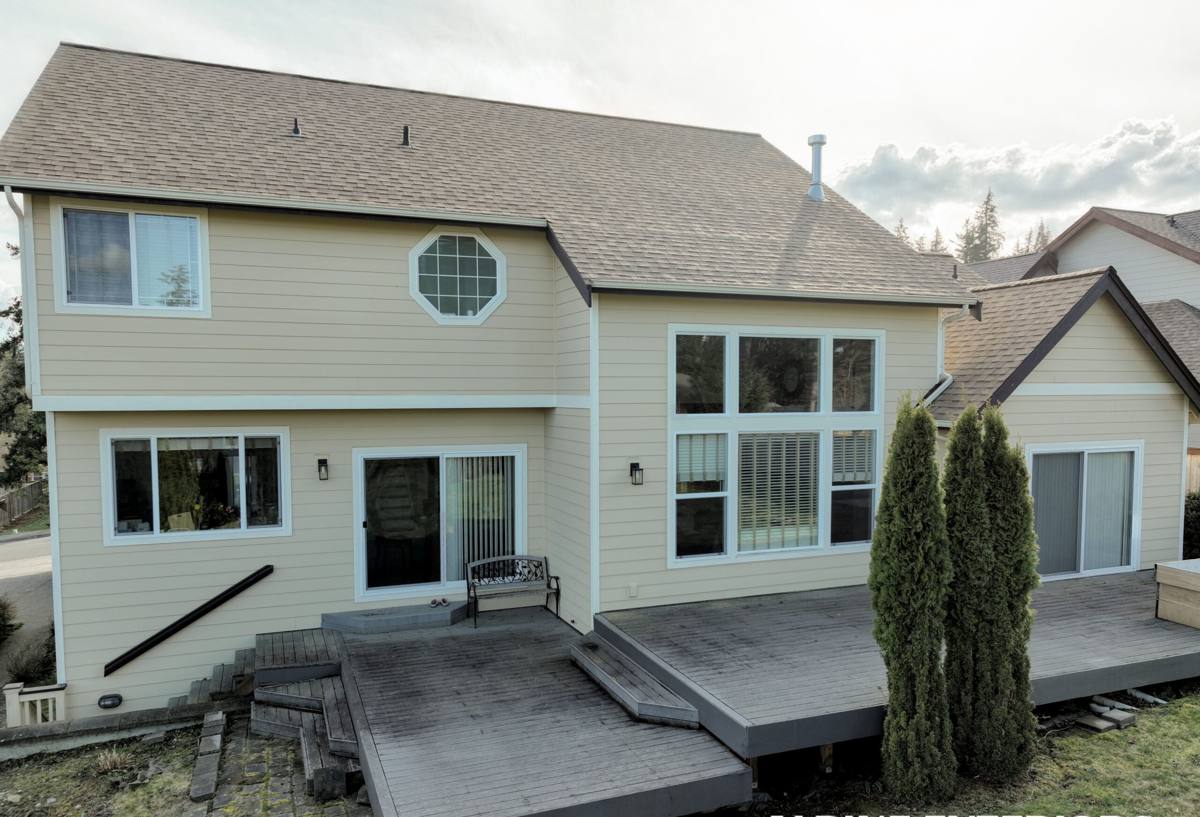
What Whatcom County's Climate Means for New Windows
Sudden Valley sits inland from the Salish Sea, but the marine air off the water still shapes the weather here — long stretches of low-pressure systems, driving rain that comes in at an angle instead of straight down, and a moss season that can run most of the year on shaded, north-facing walls. New construction gets one real advantage over a remodel: the wall is open, so the window can be flashed correctly the first time instead of retrofitted around finished siding. That advantage only pays off if the install actually uses it.
Three things matter more here than they would in a drier climate:
- Sill drainage — a sill pan that actually sheds water out and down, not one that just sits under the window and hopes.
- Fastener and flange integrity — driving rain finds fastener heads and flange gaps that a lighter climate would never test.
- Long-term moisture exposure — with Whatcom County's wet season stretching for months, any small flashing error gets far more chances to become a real leak than it would somewhere with a short rainy season.
What a Correct New-Construction Install Actually Involves
"New-construction" windows are built with a nailing flange around the perimeter of the frame, meant to be fastened directly to open stud framing before the weather-resistant barrier and siding go on. That's different from a replacement or pocket window, which slides into an existing, already-sided opening. Because the wall is open, there's no excuse for skipping steps — every layer is accessible.
Sill Pan and Flashing Sequence
The rough opening gets a sloped sill pan before the window ever sets — a small detail that determines whether incidental water that gets past the window (and some always will, eventually) drains back outside or pools against the framing. From there, flashing goes in a specific order: sill first, then the window itself, then jamb flashing, then head flashing last, each layer lapping over the one below it like shingles so water is always directed outward and down, never trapped behind a layer that was installed out of sequence.
Integrating with the Weather-Resistant Barrier
The housewrap or WRB has to be cut and lapped around the opening correctly — a proper "window flap" method, not just tape slapped over a straight cut. The head flashing needs to tuck behind the WRB above the window, not sit on top of it, so any water running down the wall goes over the flashing and past the window, not behind it. This is the step that gets rushed most often on busy new-construction sites, and it's the one that causes the slow, hidden leaks that don't show up until there's already rot in the sheathing.
Fastening and Fin Attachment
Nail fins get fastened at the spacing and fastener type the manufacturer specifies — skipping fasteners to save time, or using the wrong fastener in wet-exposure framing, is a warranty problem waiting to happen. The window also needs to be shimmed and squared before fastening, not fastened first and adjusted after, or it will operate poorly and stress the seals over time.
Choosing a Frame Material for New Construction
New construction is the right time to decide on frame material, since you're not constrained by an existing opening. Each option has real trade-offs for a wet, moss-prone climate like this one — we'll walk through them honestly rather than push one option.
| Frame Material | Moisture Behavior | Maintenance | Typical Cost Tier |
|---|---|---|---|
| Vinyl | Won't rot; expands/contracts with temperature swings | Low — occasional cleaning | Lower |
| Fiberglass | Very stable, minimal expansion; handles wet cycling well | Low | Mid to upper |
| Wood-clad | Good if cladding and flashing are done right; the wood core is the risk if water ever gets behind the cladding | Higher — finish and seals need periodic attention | Upper |
| Aluminum | Durable but thermally conductive; can condensate in cold, damp conditions without a thermal break | Low | Mid |
For most Yew Street new builds, vinyl or fiberglass strikes the best balance of moisture tolerance and low upkeep given how much damp weather these frames sit through every year. Wood-clad units can absolutely work here, but they raise the stakes on getting the cladding and flashing details right, since the failure mode is hidden until it's serious.
New Construction vs. Replacement — Why the Difference Matters
We get asked sometimes whether a new-construction window can just be "made to work" in a remodel opening, or vice versa. It's worth being direct: a new-construction window's nail fin is designed to be buried under the WRB and siding, not exposed or trimmed to fit an existing wall. Using the wrong window type for the situation either creates a flashing detail that was never designed to work, or wastes money on features you don't need. On a true new build or addition like most of what's going up around Yew Street right now, new-construction units are the correct, more cost-effective choice — you get factory nail fins built for exactly this sequence instead of paying for retrofit hardware you won't use.
Our Process on Yew Street
Before the Windows Arrive
We confirm rough openings against the actual window schedule before anything ships — a mismeasured opening caught before delivery is a phone call; caught after is a delay. We also walk the framing for anything that needs addressing before windows go in, since it's far easier to fix now than after the wall is closed up.
Install Day
Sill pans, flashing, and fastening follow the sequence above, on every opening, whether it's one window or a whole elevation. We don't vary the sequence based on how busy the schedule is — it's the same on the last window of the day as the first.
Closing the Envelope
Because we also do the siding, we carry the same crew's eyes from window flashing through WRB lap to finished siding. There's no handoff where one trade assumes the other one "probably" got the flashing right.
Why We Handle Windows and Siding Together
A lot of window leaks in new construction aren't a bad window — they're a gap in responsibility between the window installer and the siding crew that comes in weeks later. If the WRB wasn't lapped correctly, or the head flashing wasn't tucked in behind the wrap the way it should have been, the siding crew has no way to see that once their material is up, and often no reason to suspect it. Hiring one crew that installs the windows and the siding as one continuous envelope removes that gap entirely. It's also why local experience matters: a crew that already works Yew Street and greater Sudden Valley knows what this climate does to a wall over years, not just what looks right on install day.
Cost Factors to Expect
New-construction window costs vary by opening size, frame material, glazing package, and how many openings are on the job — we won't quote a number without seeing the plans, but a few things reliably move the price:
| Factor | Effect on Cost |
|---|---|
| Frame material (vinyl vs. fiberglass vs. wood-clad) | Vinyl typically lowest, wood-clad typically highest |
| Glazing package (standard dual-pane vs. upgraded low-E/argon) | Upgraded glazing adds cost but improves comfort and efficiency in our climate |
| Number and size of openings | More openings and larger units raise material and labor cost together |
| Access and site conditions | Difficult access or a tight build schedule can add labor time |
A Pre-Install Checklist for Yew Street Homeowners and Builders
- Confirm window schedule matches actual rough openings before delivery
- Verify sill pan flashing is specified and installed before the window is set, not after
- Confirm WRB lap sequence — sill, window, jamb, head, in that order
- Check fastener type and spacing against manufacturer installation instructions
- Ask who is responsible for the WRB-to-window integration if windows and siding are separate contractors
- Confirm NFRC label ratings (U-factor and SHGC) match what was specified for the climate
- Walk the framing before window delivery to catch issues while the wall is still open
If you're building on Yew Street or elsewhere in Sudden Valley and want windows installed as part of a wall system that's built to handle Whatcom County weather, not just filled in and painted over, we're glad to walk the plans with you. Fill out the form below for a free, no-pressure estimate.