 Sudden Valley Siding
 New-Construction Windows in Deming: Why the Install Matters More Than the Window
When a home in Deming is framed and ready for windows, the actual window unit is only part of the job. What happens around it — the flashing, the water-resistive barrier lap, the sill pan, the sealant — is what decides whether that window is still performing in fifteen years or leaking into the wall cavity in three. New-construction windows (sometimes called nail-fin or flange windows) are designed to be integrated into the wall assembly before siding goes on, which means the installer only gets one real chance to get the water management right. Once siding is up, the flashing details are hidden.
We install new-construction windows for builders, remodelers, and homeowners in the Deming area as part of our siding and exterior work. This page covers what that job actually involves here, why our local climate makes the details non-negotiable, and how we run the process from rough opening to finished siding tie-in.
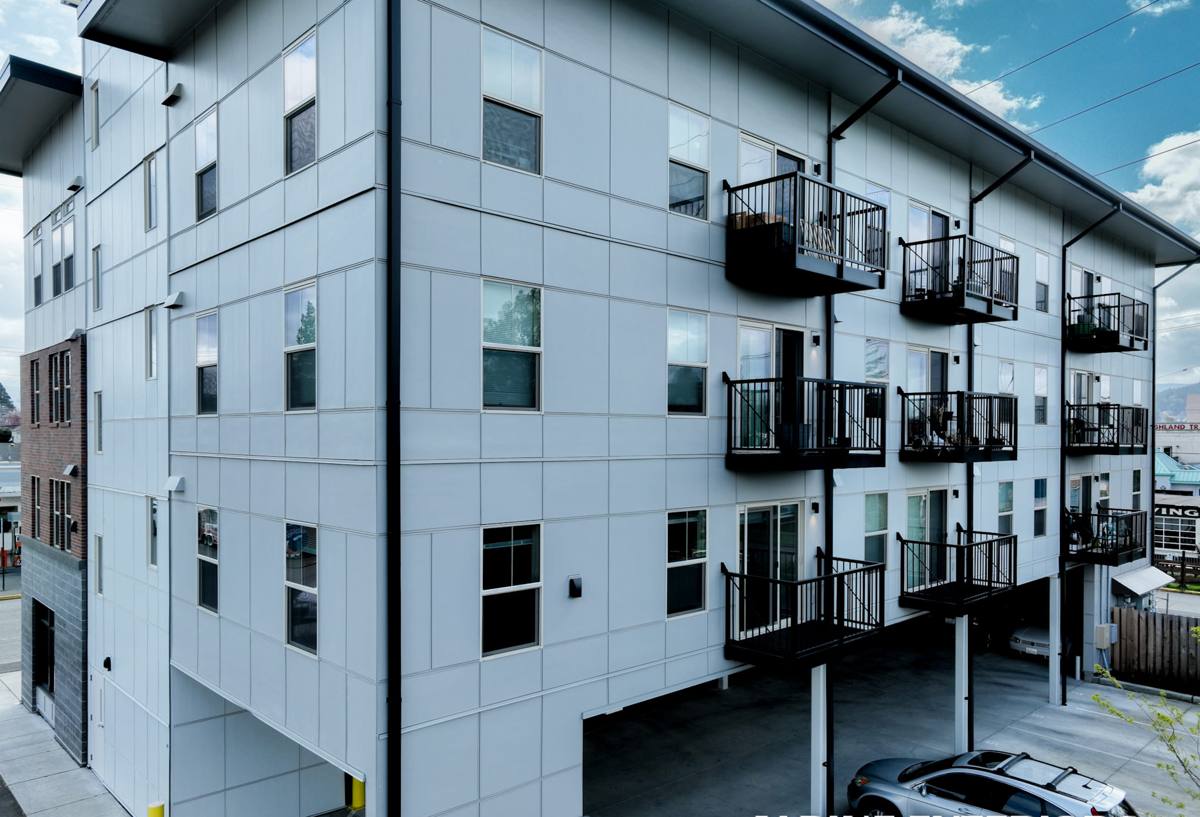
What Deming's Climate Does to a Window Opening
Deming sits in the Nooksack River valley in Whatcom County, in the shadow of the Cascade foothills, and it gets the same marine-influenced weather pattern that soaks the rest of northwest Washington — long stretches of steady, driving rain rather than short heavy storms. Even away from the immediate shoreline, that moisture load is constant for much of the year, and the tree cover and valley humidity around Deming add a long moss and algae season on top of it. None of that is dramatic on its own, but it adds up fast at a window opening that wasn't flashed correctly.
A rough opening is a hole in the weather barrier. Every seam, lap, and fastener around that opening is a potential path for water to get behind the siding and into the wall framing. In a drier climate, a mediocre flashing job might go unnoticed for years. In Deming's rain pattern, moisture finds those gaps quickly, and because the symptoms — soft trim, staining, mold behind drywall — often show up on the inside long after the damage is done, a bad install can go undetected until repairs are expensive.
The specific stresses to plan for
- Wind-driven rain: storms off the valley can push water sideways into vertical joints and window heads, not just straight down.
- Sustained dampness: long wet seasons mean any trapped moisture has weeks, not hours, to do damage before things dry out.
- Shade and moss growth: tree-shaded lots hold moisture longer around trim and sills, which is where poor sealant choices show up first.
- Seasonal temperature swings: the valley sees colder mornings and bigger day-to-night swings than the immediate coast, which stresses sealants and expansion joints over time.
What a Correct New-Construction Window Install Involves
New-construction windows are installed using their nailing flange, before the water-resistive barrier (WRB) and siding go on. That sequencing is the whole point — it lets the flashing be built in "shingle-style," so water is always directed outward and downward, layer over layer, the same way roofing shingles work.
The sequence we follow
- Rough opening check. Confirm the opening is square, level, and sized correctly to the window's actual dimensions, with proper shim space — not just close enough.
- Sill pan flashing. A sloped, sealed pan at the bottom of the opening so any water that does get past the window has somewhere to go besides the framing.
- Jamb and head flashing. Flashing tape or flexible flashing at the sides, lapped correctly with the WRB, and a head flashing or drip cap above the window that sheds water past the opening rather than into it.
- Window set and fastening. The unit is set into the sill pan, checked for level and square, and fastened per the manufacturer's schedule — skipping or over-driving fasteners is a common source of long-term air and water leaks.
- WRB integration. The house wrap or building paper is lapped over the flanges in the correct order — sides, then head — so the whole assembly drains outward.
- Sealant at the right points only. Modern flashing systems rely on some joints staying open (usually the sill) to let any incidental moisture drain back out. Sealing everything shut, including the bottom, is a classic mistake that traps water instead of releasing it.
Get the order wrong — sealant where there should be an open drain path, WRB lapped backward, a missed sill pan — and the window can look perfect from the outside while quietly failing behind the trim.
New-Construction vs. Replacement Windows
We get asked why we specify "new-construction" work separately from replacement window jobs. They're genuinely different scopes with different flashing logic, and mixing them up leads to callbacks.
| Factor | New-Construction (Nail-Fin) | Replacement (Pocket/Insert) |
|---|---|---|
| When it's used | New builds, additions, or full wall/siding tear-off | Existing wall stays intact; old frame remains |
| Flashing access | Full access to sheathing, WRB, and framing | Limited to what's inside the existing frame |
| Water management | Built fresh, shingle-lapped into the WRB | Relies on the condition of the existing flashing |
| Best outcome when | Siding is being installed or replaced at the same time | Siding and trim are staying and are in good condition |
| Long-term risk if done wrong | Hidden leaks behind new siding | Leaks masked by cosmetically fine existing siding |
Because we're a siding contractor, most of our new-construction window work happens as part of a larger exterior job — new siding going on a new build or an addition. That's actually the ideal scenario for windows: the wall is open, the WRB is being installed fresh, and the window flashing and the siding water management get built as one continuous system instead of two separate trades hoping their work lines up.
Choosing Windows for a Deming Home
We don't push one brand or material as the only right answer — the right choice depends on the home's design, budget, and how exposed the wall is to weather. What we do insist on is that whatever unit goes in is rated for the moisture and wind conditions of northwest Washington and installed to its manufacturer's actual instructions, not a generic method.
Material trade-offs worth understanding
- Vinyl: low maintenance and cost-effective, good moisture resistance; larger sizes and darker colors need attention to expansion allowances.
- Fiberglass: dimensionally stable across temperature swings, holds paint well, generally a higher upfront cost.
- Aluminum-clad wood: attractive interior wood look with a weather-resistant exterior shell; the cladding's seams and corners need careful sealing to stay watertight long-term.
Glazing matters as much as frame material here. Double-pane, Low-E glass is the standard baseline for our climate zone, and most new construction in Whatcom County needs to meet current Washington state energy code for the wall and window assembly — we account for that during planning rather than leaving it as a surprise at inspection.
How Our Process Works
Before installation
We review the window schedule and rough opening sizes against the actual units ordered, walk the framing with the builder or homeowner, and confirm the WRB and flashing materials being used are compatible with each other — mixing incompatible tapes and house wraps is a quiet cause of adhesion failures down the road.
During installation
Each opening gets the same sequence: sill pan, side flashing, window set and fastened, head flashing, WRB lap. We check level, square, and reveal on every unit rather than just the first one, since a rushed crew's quality tends to drop on window twelve of twenty.
After installation, before siding
We inspect the full run of windows and flashing before siding starts. This is the last point where a flashing mistake is cheap to fix — once siding is on, correcting a bad lap means pulling material back off.
Cost Factors for New-Construction Window Installation
We don't quote a flat per-window number sight unseen, because these factors genuinely move the price. This is meant to help you understand what you're paying for, not to set expectations on an exact figure.
| Factor | Why It Affects Cost |
|---|---|
| Number and size of openings | More units and larger openings mean more flashing material and labor time per house |
| Window material and glazing package | Fiberglass and triple-pane options cost more than standard vinyl double-pane |
| Wall height and access | Second-story and vaulted openings need staging or lifts, adding time and equipment cost |
| Flashing complexity | Corner windows, large picture windows, and openings near rooflines take extra detailing |
| Coordination timing | Installing windows and siding together as one sequence is usually more efficient than two separate site visits by two crews |
What to Confirm Before Windows Go In
Whether you're a homeowner overseeing a build or a builder bringing in a window sub, these are worth checking before the crew starts setting units:
- Rough openings have been verified against the actual window order, not just the original plans
- The WRB and flashing tape brands being used are confirmed compatible with each other
- A sill pan is planned for every opening, not just the larger or more exposed ones
- Manufacturer installation instructions are on-site and being followed, not a generic in-house method
- Sealant is being used only where it should be — with the sill left able to drain, not fully caulked shut
- There's a plan to inspect flashing before siding covers it up
- The crew has scheduled around the weather, since flashing tape and sealants need workably dry, moderate conditions to adhere properly
Why a Crew That Already Works in Deming Makes a Difference
Window flashing isn't exotic work, but it's detail-sensitive work, and the details that matter shift with the climate. A crew used to installing in a drier region can do everything "by the book" and still miss the local judgment calls — how much lap is enough given how long walls stay wet here, which sealants actually cure reliably in Whatcom County's damp shoulder seasons, or how much moss and shade exposure a given lot is going to see over its life. We work new-construction windows and siding together across Sudden Valley and the surrounding Whatcom County area, including Deming, so those calls aren't guesswork — they're routine.
There's also a practical scheduling benefit to using one contractor for windows and siding on a new build: fewer handoffs between trades, one crew accountable for how the window flashing and the siding water management tie together, and no finger-pointing later if something does leak.
Get an Estimate for Your Deming Project
If you're framing a new home or addition in Deming and need new-construction windows installed correctly and integrated with your siding, we're happy to take a look at your plans and walk the site. The estimate is free, there's no pressure, and you'll get a straight answer about what your project actually needs — just fill out the form below to get started.