 Sudden Valley Siding
 Building New Near Cordata: What Whatcom County Weather Asks of Your Windows
If you're framing a new home in or around Cordata, the window install is one of the few construction steps you don't get a do-over on without real cost. Once siding, trim, and interior finish go on, a window that was set wrong is buried under layers of work that all have to come back off to fix it. That's true anywhere, but it matters more here. Whatcom County sits in a corridor where driving rain off the Salish Sea, sustained damp air, and a long moss season put pressure on building envelopes for most of the year. A window opening that's flashed and sealed correctly the first time just sits there quietly doing its job for decades. One that isn't will show it — staining, soft trim, or a slow leak that doesn't announce itself until there's already damage behind the wall.
New construction gives us an advantage replacement work never does: full access to the rough opening, the house wrap, and the framing before anything is closed in. Done right, that's the best possible foundation for a window that performs for the life of the house. Done wrong, it's the hardest kind of mistake to catch early, because everything looks fine on the surface for a year or two.
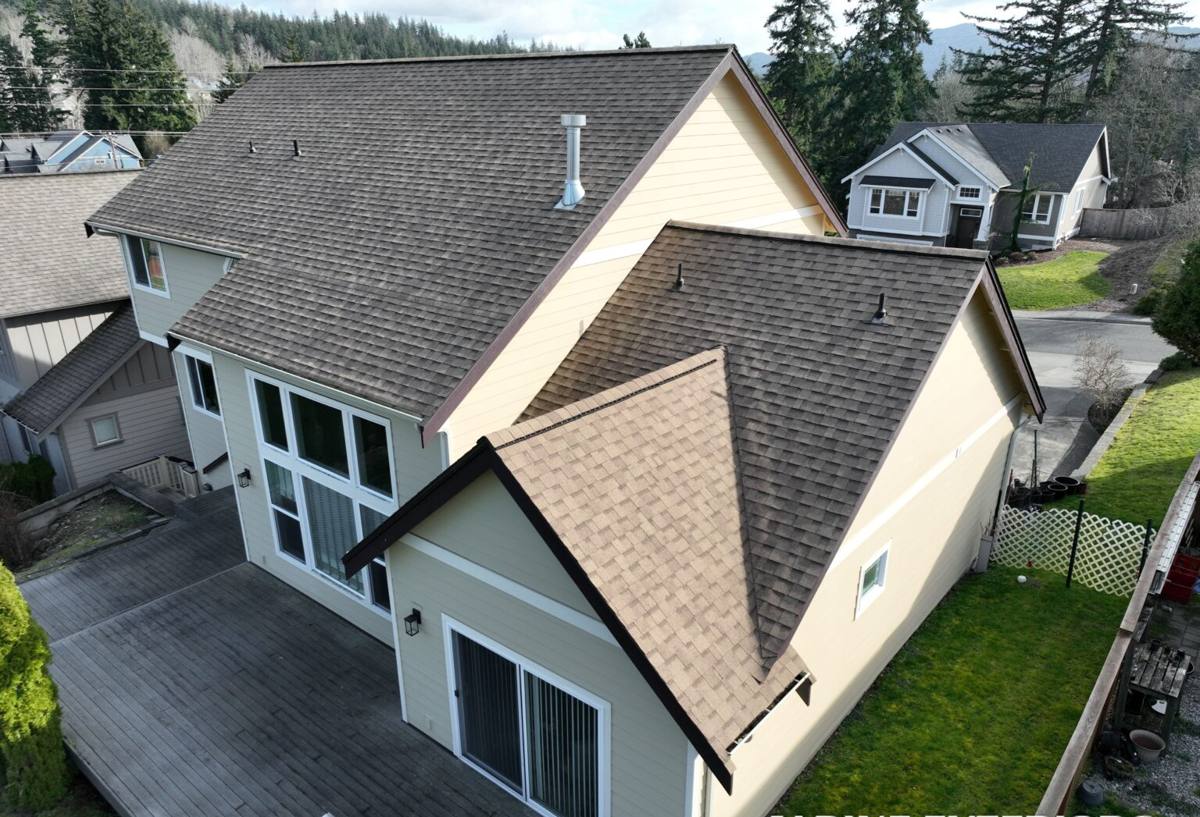
New-Construction Windows vs. Replacement Windows — Why the Distinction Matters
These are genuinely different products installed with different methods, and mixing them up on a new build causes problems down the line.
- New-construction windows have a nailing fin around the perimeter that gets fastened directly to the sheathing, then integrated into the house wrap and flashing system in a specific shingle-lap sequence. This is the correct choice for open-wall framing.
- Replacement (pocket) windows are designed to slide into an existing frame with the old exterior trim left in place. They don't have a fin, rely more on the surrounding frame for weather resistance, and are the wrong product for a house that's still open to the studs.
We bring this up because it's a common point of confusion when homeowners are pricing windows themselves or comparing quotes from a big-box supplier — the wrong product on a new build creates flashing and sealing problems that are entirely avoidable.
What a Correct New-Construction Install Actually Involves
The Sill Pan Comes First
Before a window ever sits in the opening, the rough sill should have a sloped, sealed pan — either a manufactured flashing pan or one built up with self-adhered flashing tape — so that any water that does get past the window has a built-in path back outside instead of soaking into the framing. This step gets skipped more than any other on rushed jobs, and it's invisible once the window is in, which is exactly why it matters that whoever installs it does it every time, not just when someone's watching.
Flashing in the Right Order
Flashing tape and house wrap have to be layered like shingles — each piece overlapping the one below it — so water is always directed outward and down, never trapped behind a seam. Sides go on before the top, and the top flashing laps over the house wrap above it. Get the order backward and you've built a small dam right where water is most likely to run.
Shimming and Squaring
The window has to be shimmed plumb, level, and square in the opening before it's fastened — not just eyeballed close. An out-of-square frame stresses the sash, causes uneven weatherstripping contact, and shortens the life of the hardware and any weep system built into the frame.
Sealing the Interior and Exterior Correctly
Low-expansion foam or backer rod and sealant around the frame perimeter controls air leakage, but the exterior sealant joint is the one that has to hold up to real weather — UV, driving rain, and repeated wet-dry cycles. We use sealants rated for exterior exposure and tool every joint so water sheds instead of pooling.
| Install Step | Why It Matters in This Climate |
|---|---|
| Sloped sill pan | Gives incidental moisture a way out instead of a place to sit against framing |
| Shingle-lapped flashing | Directs driving rain outward under wind-driven conditions common near the water |
| Square, plumb setting | Keeps weatherstripping sealing evenly through decades of seasonal movement |
| Exterior-rated sealant, properly tooled | Resists the long wet season and moss/algae growth that breaks down cheaper caulk faster |
| House wrap integration | Ties the window into the whole-wall drainage plane instead of leaving an isolated weak point |
Choosing Window Materials for a Cordata-Area New Build
Material choice affects how much maintenance the windows will ask of you once the house is finished and landscaped.
| Frame Material | Moisture Behavior | Maintenance | Notes for This Area |
|---|---|---|---|
| Vinyl | Won't rot; handles damp exposure well | Low — occasional cleaning | Common, cost-effective choice for new builds |
| Fiberglass | Dimensionally stable, very low moisture uptake | Low | Holds paint well if a custom color is wanted later |
| Wood-clad | Exterior clad protects wood, but any breach exposes it to rot risk | Higher — clad joints and sills need periodic inspection | We're honest that this is a maintenance commitment in a wet climate, not a knock on the product |
| Aluminum | Corrosion-resistant coatings help, but bare aluminum is a poor fit near salt-influenced air | Moderate | Fine with proper coatings; we discuss trade-offs case by case |
There's no single "right" material for every build — it depends on budget, architectural style, and how much upkeep the homeowner wants to take on. What we won't do is install a product a certain way just because it's cheaper if it means cutting a flashing or sealing step that protects the house long-term.
Our Process for a New-Construction Window Job Near Cordata
- Walk the framing before windows arrive. We check rough openings against ordered window sizes and flag anything out of tolerance before it becomes an install-day problem.
- Confirm house wrap and flashing sequence with the builder. On new builds we're usually coordinating with a general contractor's schedule, so we confirm who's installing house wrap and when, so the layering happens in the right order.
- Set and flash each window individually — sill pan, sides, window, top flashing, sealant — rather than batching steps across the whole house to save time.
- Photo-document flashing details before they're covered by siding, so there's a record of what's behind the finish surface.
- Final exterior seal and cleanup once siding and trim are in, checking that trim details don't compromise the flashing underneath.
Coordinating With Your Builder or GC
Most new-construction window work happens as a subcontracted piece of a bigger build schedule. We're used to working alongside framers, siding crews, and general contractors without holding up the schedule — but we won't skip a flashing step just because the framing crew is ready to move on. A short conversation up front about sequencing saves everyone a callback later.
Mistakes We See on New Builds in This Region
- House wrap taped over the nailing fin instead of lapped correctly underneath it, which traps water against the frame instead of shedding it.
- Sill pans skipped entirely because "the window has its own weep holes" — weep holes handle incidental moisture inside the frame, not water that gets behind it.
- Sealant applied over dirty or damp surfaces, which fails early and lets moisture in during the first real wet season.
- Interior foam used as the only air seal, with no exterior weather seal — this traps moisture inside the wall assembly instead of keeping it out.
- Moss and organic buildup left to accumulate in sill areas and trim joints, which holds moisture against the frame year-round in our climate and accelerates wear on caulk and finishes.
Checklist: What to Confirm Before Your Windows Go In
- Rough openings measured and confirmed against actual window sizes, not just plan dimensions
- Sloped sill pan flashing specified for every opening
- House wrap and flashing sequence agreed upon with the framing or siding crew
- Window material matched to your maintenance expectations, not just upfront price
- Exterior sealant rated for sustained wet exposure, not general-purpose caulk
- A plan for photo documentation of flashing before it's covered
- Manufacturer warranty terms reviewed — many require specific installation methods to stay valid
Why a Crew That Already Works This Area Matters
Whatcom County's mix of coastal weather patterns, extended damp seasons, and moss growth isn't something every installer accounts for by default — a lot of standard training assumes a drier climate where a missed flashing detail takes years to show up instead of one season. A crew that regularly works new construction around Sudden Valley and the surrounding Cordata area has already seen which details actually matter here: where driving rain tends to hit hardest, how quickly moss establishes on north-facing trim, and which sealants hold up through a full Whatcom County wet season instead of just looking fine on install day. That's not a marketing point — it changes which details we insist on even when a schedule is tight.
Timing It Right
Window install timing on a new build is a balance: too early and the opening isn't fully framed or wrapped; too late and it holds up siding, insulation, and interior finish. We work with your builder's schedule to hit that window — no pun intended — so the house stays on track without shortcuts on the flashing details that protect it for the next several decades.
If you're planning a new build near Cordata or elsewhere in the Sudden Valley area and want windows installed correctly the first time, we're happy to walk the site, review your plans, and put together a straightforward estimate — no pressure, no upsell. Use the form below to get started.